Use the Sample project (OPH5000EN) in the downloaded workspace.
Follow the steps below to create a project.
- Start e² studio by following the procedure in "3. Starting e² studio".
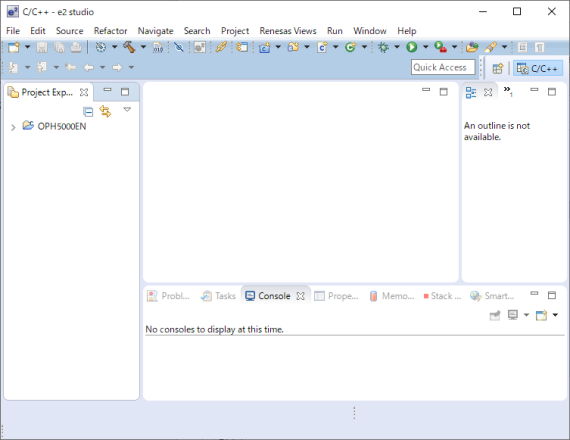
- In the [Project Explorer] view, click the sample project OPH5000EN to select it, then click [Copy] on the [Edit] menu.
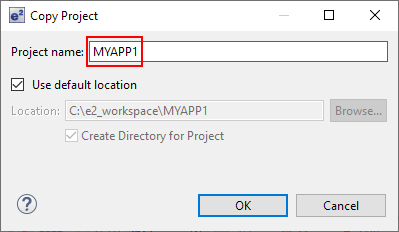
- Then click [Paste] on the [Edit] menu to display the [Copy Project] dialogue. Enter the name of the new project in the Project name field and click [OK].
Caution:
- Do not include spaces in the project name. The build will fail if it contains spaces.
- The new project appears in the [Project Explorer] view.
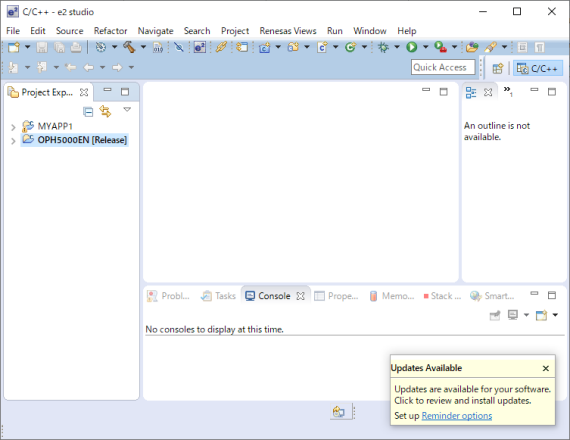
- Follow the steps in Modify project properties below to modify the properties of your new project.
Modify project properties
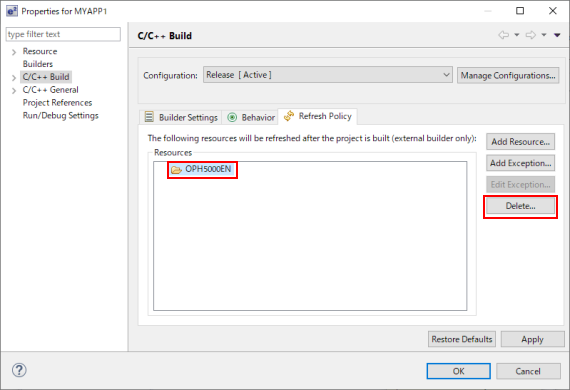
- Select a project in the [Project Explorer] view and click [Properties] on the [Project] menu to display the Properties screen. When the Properties screen is displayed, click [C/C ++ Build] → [Refresh Policy] tab.
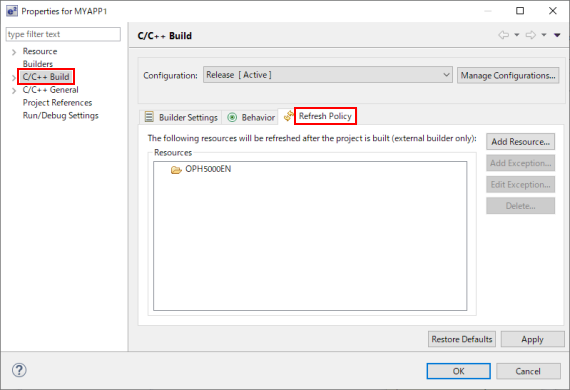
Check the project name displayed in the Resources section, and if the name of the selected project is already displayed, you do not need to modify the properties by following the steps below. Click [OK] to close the properties screen.
On the screen above, "Properties for MYAPP1" is displayed in the title, but "OPH5000EN" is displayed in the Resources section, and the project names do not match. In such a case, it is necessary to modify the properties. - Select the project name displayed in the Resources section and click [Delete] to delete the resource selection once.
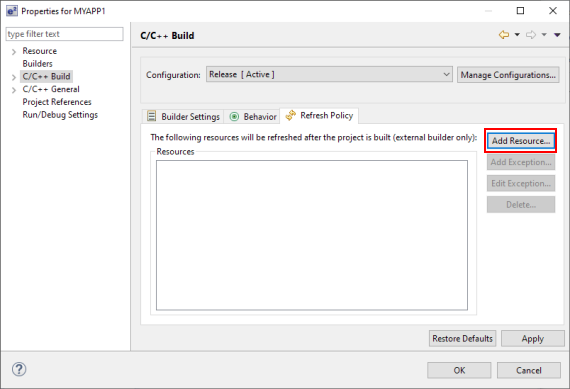
- Click [Add Resource].
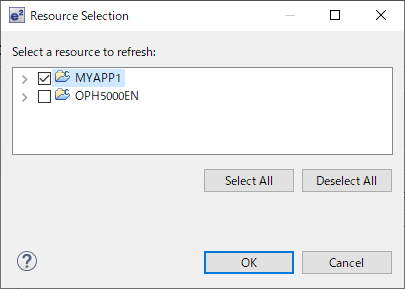
- When the [Resource Selection] dialogue is displayed, check the name of the currently selected project and click [OK].
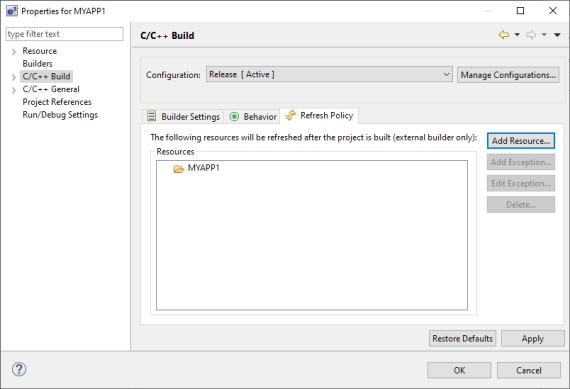
- Make sure that the name of the currently selected project is displayed in the Resources section, then click [OK] to close the Properties screen.
Last updated: 2020/12/09